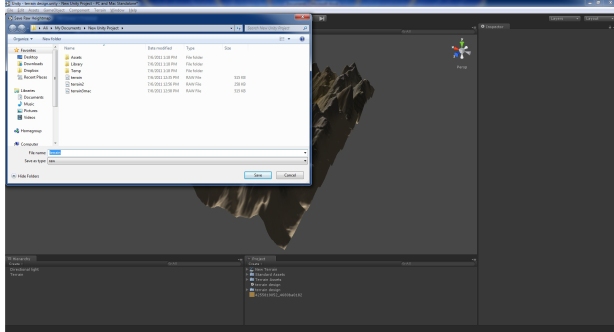
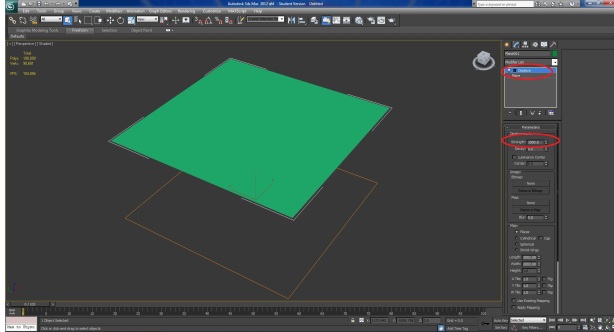
1st step: Draw you terrain in unity.
2nd step: In the menu bar under the “Terrain Menu” Select” Export Height map”.
3rd step: In Export heightmap menu options select 8 bit and if you are working with windows change the ByteOrder to windows. And press EXPORT.
4th Step: Then the software automatically asks you where you want to save the file, and you must choose the directory.
5th step: Then Open the Adobe Photoshop and drag
and drop the file that you exported to Photoshop and convert it to jpeg. Set the
setting like what I’ve shown in the picture below.
6th step: Then open the 3D max software and draw
a plane (Same size with what you’ve drawn in Unity). By default unity sets your
terrain to 2000*2000 with the height of 600. You can see your terrain
specification in set resolution under terrain menu in unity. So I will draw a
plane 2000*2000 here. And set your length segments and height segments to 300.
(Maximum is 300, you can choose 100 even, but your terrain quality won’t be
shown as good quality)
7th step: Apply the modifier “Displace” from modifier
list to your plane. And change its strength in the modifier options to 600.
8th step: In the Image bitmap menu in displace modifier
click on NONE button and choose your Jpeg heightmap which you exported from Photoshop.
9th step: There we go; we have our unity terrain in our
3d max.


awesome!!!
Thanks sir 🙂
[…] 1st step:Select your 3D terrain in 3d max and convert it to editable poly. (if you want to know how you can import your unity3d terrain in 3d max click here). […]
[…] lyasstudio Ali hashemi (Lyas)'s Online portfolio HomeAbout MeContactMy Resume RSS How to import your unity Terrain to 3D max in 9 steps. → […]